I'm undaunted in my quest to amuse myself by constantly changing my hair.
~Hillary Clinton
A lot of people asked my yesterday how I did my hair so I thought I would write this post to show that it was really really easy and I'm not crazy hair magician.... I'm only in college people.
OK The first step of the hair do is to have day old hair. I'm sure you have all heard how bad it is for your hair to wash it everyday and it strips your hair of it's natural oils blah blah blah. That's not what this post is about so I wont go into all of that. However this style does work better with slightly dirty and textured hair. In other words if you curl hair one day and wake up the next and your hair is lookin rough... try this out.
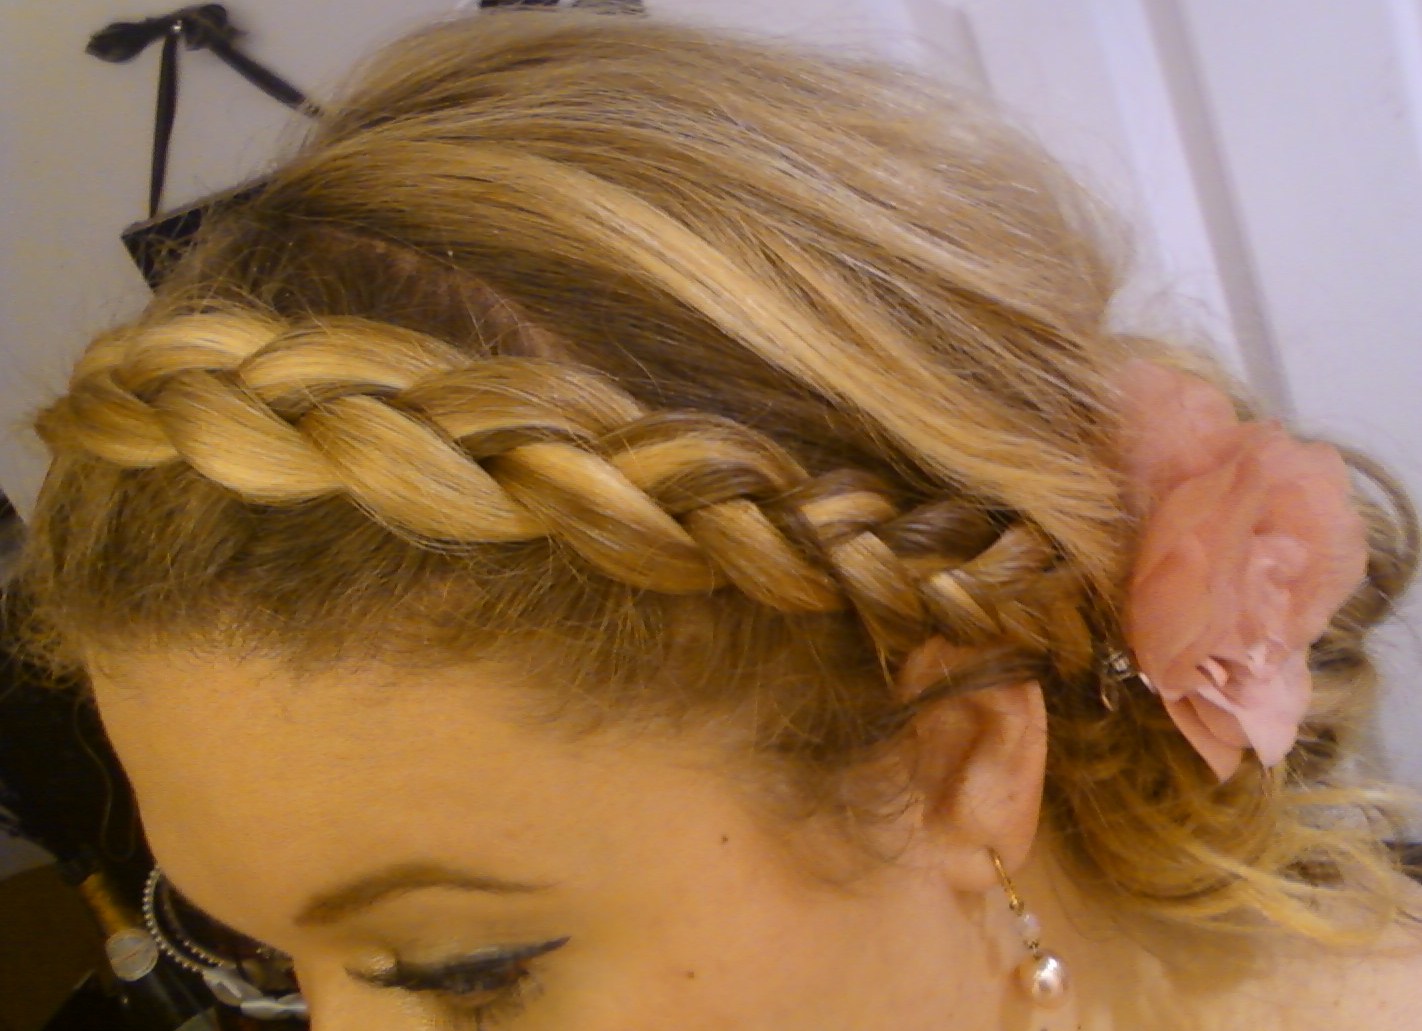
The first thing to do is separate the first two inches of your hair all around hair line around your face. All of the rest of your hair should be put in a pony tail at the nape of your next so it is out of the way. Brush out the front section of your hair so you can easily braid it. A little tip I use when ever I will be braiding is to put either moose or a oil treatment I have on the hair to prevent flyaways from coming out of your braid. Starting on one side you are going to do an inverted french braid from one side of your head to the other. If you have never done an inverted french braid before it can be a little tricky. The only difference is that instead of taking outside sections over top the middle one you take it underneath the middle each time you pick up more hair. This will create a braid that is more pronounces, with definite edges. You could do a regular french braid but I like the inverted because I think the illusion of an actual headband is better.

After you braid all the way across your head continue braiding about three more inches or even to the end if you want, that way the braid can be secured in the elastic when you put the rest of your hair in a bun. I use a thin clear plastic band so it wont be seen. The next step is to tease the crap out of your crown and on the sides so that when you gather your hair in a bun you have some volume. For this style you really need some volume on the crown because the inverted braid does stick up from your head a little and if it is taller than the rest of your hair it look a little crazy. After you tease gather all your hair in a bun on the side of your head. You need to put the bun on the same side that your braid ended to cover up the elastic. The bun can be really free form because you are going to pin it how you like. The way I shape my buns (hehe) is to loosen loops from the elastic, twist them, and then pin them where I want them. this creates a really messy look, which I like, but also allows you to have a lot of control about where the bun is on your head, how far it sticks out, and the circumference of the bun.
When you I have my bun looking like I want it, I always add a little glam to it by pinning in a flower. The one I am wearing is from Forever 21 and is featured in one of my old blog posts. You could also pin in antique brooches, that is another on of my favorite ways to add a little more to this style.
OK I hope everyone enjoyed this tutorial! Happy weekend yall!
Love, Laughter and God's Blessings
Lauren


No comments:
Post a Comment